4 Dec

Blogger Oven Baking Recipes

Get the most from your Beko oven with this range of delicious baking recipes provided by some of our favourite bloggers. Whether you're looking to create something savoury or whip up a sweet treat then look no further for mouth-watering inspiration.

Beko's built-in oven range has a host of innovative features designed to give you confidence to tackle even the most challenging recipes. Some Beko models even have a self-cleaning oven feature which can be activated at the push of a button, so you can spend more time baking and less time scrubbing. Although, you'll have to lick the spoons clean yourself!

Every recipe featured here has been given a unique twist by its creator. If you're looking for a challenge, why not experiment with putting your own spin on an old favourite? You can share your creations with us over Facebook or Twitter.

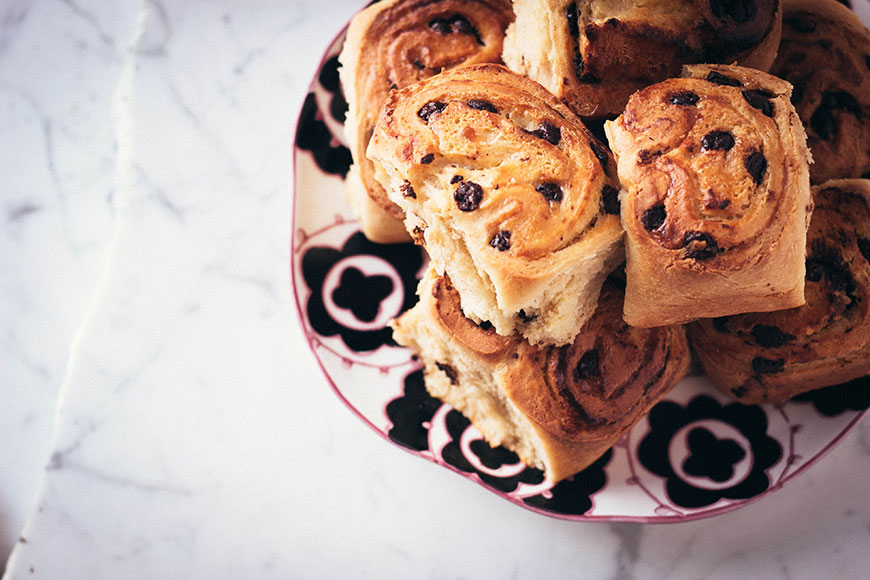
Overnight Chocolate Twist Buns

Overnight Chocolate Twist Buns

This recipe is the creation of bun-making expert Give it a try yourself for a delicious treat!

Makes 8 large buns

The dough

  • 180ml warm water
  • 2 1/4 tsp active dry yeast
  • 100g plus 1 tbsp caster sugar
  • 1/2 tsp salt
  • 75g buttermilk
  • 1 large egg
  • 70g melted butter or flavourless oil
  • 710g plain flour

Pastry cream

  • 300g milk
  • 100g sugar
  • 10g plain flour
  • 20g cornflour
  • 4 egg yolks
  • 1 tsp vanilla extract
  • 1/2 tsp salt
  • 150g dark chocolate chips

To make the dough:

  1. Add water, yeast and 1 tbsp sugar in a freestanding mixer with dough hook fitted
  2. Let stand until yeast starts to froth (10 mins approx.)
  3. Whisk together buttermilk, egg and melted butter
  4. Add to yeast, along with rest of sugar until combined
  5. Pour in ½ of flour plus the salt and mix
  6. Gradually add rest of flour while mixing with dough hook
  7. Knead on low speed for five minutes
  8. Place in oiled bowl and let prove for 2 hours

To make the pastry cream:

  1. In a heavy bottomed saucepan, scald the milk until it starts to boil, then take off the heat
  2. In a medium bowl, stir together the salt, flour, cornflour and sugar
  3. In a small bowl, whisk the egg yolks until well blended
  4. Slowly whisk flour mixture into the egg yolks and whisk until a thick paste forms.
  5. Slowly add the scalded milk to the paste a little bit at a time, making sure to mix after each addition.
  6. Return the mixture to the saucepan on medium heat.
  7. Whisk continuously for 3 minutes, or until the mixture thickens
  8. As soon as it starts to boil, whisk for 10 seconds, then immediately take off the heat.
  9. Pass the cream through a fine sieve directly into a heatproof bowl.
  10. Fold in vanilla extract until there are no dark streaks.
  11. Cover the surface of the custard entirely with cling film and set aside.

To finish:

  1. Roll the dough out approximately 30cm by 40cm and brush and spread all of the pastry cream over it, making sure to leave 1 inch around the sides
  2. Sprinkle chocolate chips over the pastry cream.
  3. Tightly roll the dough from the shorter side, to make thicker buns
  4. Pinch the ends together to stop the filling from spilling out.
  5. Score dough every 1.5 inches and slice through with a large serrated knife
  6. Place buns in a lined brownie pan
  7. Wrap pan in cling film and refrigerate overnight and/or up to 16 hours
  8. Fill a jar with boiling water and place on the bottom shelf of the oven
  9. Put the buns on the top shelf and let proof for half hour
  10. Take the water and the buns out of the oven
  11. Preheat the oven to 180 C and bake for 35 minutes, until golden brown

Best eaten on the day they are baked, but lasts for 3 days if covered.

Emine MBakes

Em

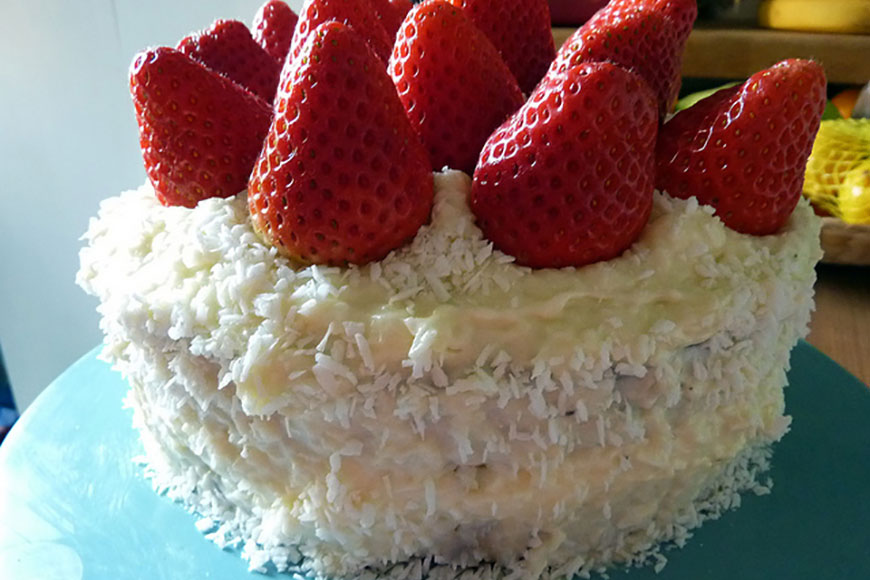
Coconut cake with strawberries

Coconut Cake

This delicious coconut cake recipe is provided exclusively for Beko by blogger andThe Awkward Blog

Spring fever has sprung! I feel like we're slowly crawling out of winter - there's been lots of glorious sunshine, flowers, and realising we ought to cut the grass…already! It's been a while since I've baked a whole cake, but what better way to anticipate the onslaught of summer than to bake something fancy? So, something simple. Something that screams sunshine. It had to be a coconut cake!

Here's the recipe I use, but first: preheat your oven to 180 degrees Celsius

For the Cake

  • 380 grams of plain flour
  • 1 teaspoon of vanilla essence
  • 1 teaspoon of almond essence
  • 250 grams of unsalted butter
  • 2 cups of light brown sugar
  • 5 eggs
  • 1 teaspoon of baking powder
  • A pinch of salt
  • 1 cup of milk (you could also use coconut milk if you wanted to be fancy)
  • 1 packet of shredded coconut (about 5 ounces)

For the icing

  • 1 tub of soft cream cheese
  • 230 grams of butter
  • 1 teaspoon of vanilla essence
  • 1 teaspoon of almond essence
  • 1 packet of shredded coconut
  • 350 grams of icing sugar

Method

  1. First, preheat your oven to 180 degrees Celsius
  2. Add the eggs one at a time, continue mixing on medium speed
  3. Add the vanilla and almond extracts

At this point, the cake mix will look like it's gone wrong! This is good, don't worry. It will look like globs of curd!

  1. In another bowl, add all the dry ingredients
  2. On a slow speed, add this to the cake mix a bit at time, alternating between adding the flour and mixing in a little milk each time.

I've experimented with using coconut milk and it works, but for the sake of ease we're going to stick to good old semi-skimmed.

  1. Once you've poured in the last bit of milk and flour, stop the mixer.
  2. Fold in the shredded coconut, then separate the cake batter into two cake pans.
  3. Put them into the oven for about 45 minutes.

Once they're done, let them cool so that when it's time to ice the cakes - the icing won't turn into a pile of melted buttery goo. Many cakes have been spoiled with my greedy impatience!

  1. Once they're done allow to cool
  2. Add the cream cheese and butter into the mixer on low speed, then add in the vanilla and almond essences
  3. Add the icing sugar bit by bit until it reaches a thick and creamy texture.
  4. Gently stir in the shredded coconut - The end result looks a little bit like rice pudding!
  5. Using a spatula knife, evenly spread the icing until you have created a big, lumpy, coconuty monster!
  6. If you have leftover shredded coconut, sprinkle it on the top and sides
  7. To top off the cake, I added big fat strawberries all around as a tasty nod to spring

I cut myself a thick wedge of cake and took it out into the garden while I soaked up the sun.

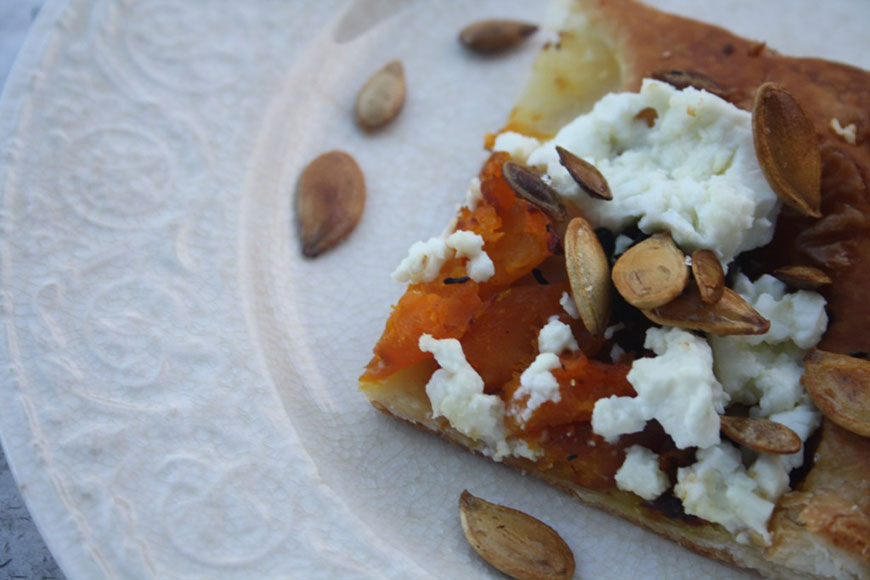
Squased Fetta and Chilli Tart

Squash, Feta and Chilli Tart

Have a go at making this delicious looking tart, created by Wanderlust & Bake

Ingredients

  • One large or two small butternut squash
  • One dried chilli or one small teaspoon of dried chilli flakes or a big glug of chilli oil
  • Olive oil
  • One sheet of pre-rolled all butter puff pastry
  • 250g feta cheese
  • A handful of pumpkin seeds

Instructions

  1. Heat your oven to 180 degrees C/350 degrees F/ gas mark 4
  2. Peel, slice and de-seed your squash into rough slices
  3. Toss the squash in a generous glug of olive oil (or chilli oil if you are using this as an alternative to the chilli) and sprinkle with your sliced dried chilli, salt and pepper
  4. Roast in the oven for 20- 30 minutes until soft and slightly brown at the edges.
  5. Rack the heat up in your oven to 200 degrees C / Gas mark 6
  6. Line a baking tray with greaseproof paper and roll out your puff pastry
  7. Cover evenly with your roasted squash slices, leaving a border around the edge and drizzle with any remaining oil from the pan
  8. Crumble the cheese over the squash, sprinkle with pumpkin seeds and pop in the oven for 10 minutes until the pastry is brown and, well….puffed!
  9. Simply save your seeds, rinse them well and boil in salted water for 10 minutes.
  10. Dry thoroughly before spreading them over a baking tray, drizzling them with a touch of with olive oil, a touch of salt
  11. Roasting in a hot oven for 5 minutes keeping a beady eye on them
  12. Slice the tart into squares and serve hot with a big green salad
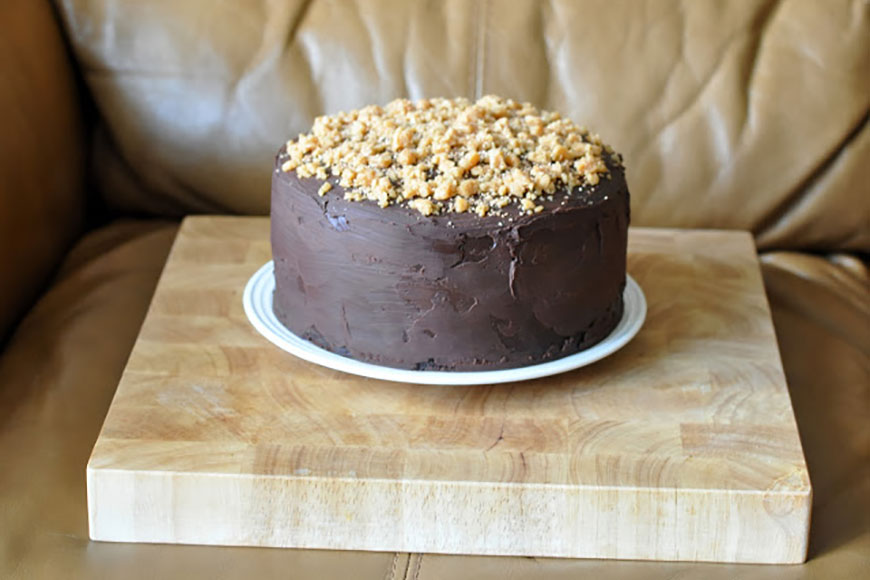
Salted Caramel Chocolate Fudge Cake

Salted Caramel Chocolate Fudge Cake

This recipe comes to us from , the creator of Sophie Loves Food.

For the cake:

  • 125g caster sugar
  • 100g soft brown sugar
  • 4 large eggs
  • 1tsp vanilla extract
  • 240ml vegetable oil
  • 200g self-raising flour
  • 75g cocoa powder
  • 1tsp baking powder
  • 1tsp bicarbonate of soda
  • A pinch of sea salt
  • 2tbsp plain, natural yoghurt

For the salted caramel buttercream filling:

  • 250g unsalted butter, softened
  • 500g icing sugar
  • 3tbsp Bonne Maman Confiture de Caramel
  • A pinch of sea salt

For the chocolate fudge topping:

  • 200g dark chocolate
  • 125ml double cream
  • 2tbsp Bonne Maman Confiture de Caramel
  • Chopped fudge pieces to decorate

Method

  1. Heat the oven to 180 degrees. Butter three sandwich cake tins and line the bottom of each with baking paper.
  2. Using a mixer or electric whisk, beat the caster sugar, soft brown sugar, eggs and vanilla together for about four minutes until creamy. Slowly add the vegetable oil and mix again well.
  3. Sift in the flour, cocoa powder, baking powder, bicarbonate of soda and stir together well with a metal spoon or spatula. Add a pinch of salt and stir in the plain yoghurt, mix well.
  4. Divide the mixture equally between the prepared baking tins and bake for 30 minutes. Once a skewer comes out clean, take the sponges out of the oven and leave to cool in the tins.
  1. To make the filling, beat the butter until soft and a little fluffy. Carefully add the icing sugar a little at a time and keep mixing until the whole amount is added in. Add the caramel sauce and a pinch of sea salt and mix well.
  2. Once the sponges are completely cool, sandwich them together with equal amounts of buttercream.
  3. To make the chocolate fudge topping, melt the chocolate and stir in the cream and caramel once slightly cooled. Leave to cool entirely, before spreading the fudge topping over the entire cake. I found it easier to do a crumb coating, although the second layer was a lot cooler and a lot less spreadable. Decorate with chopped fudge pieces.
Sophie Recipe Blogger

Sophie

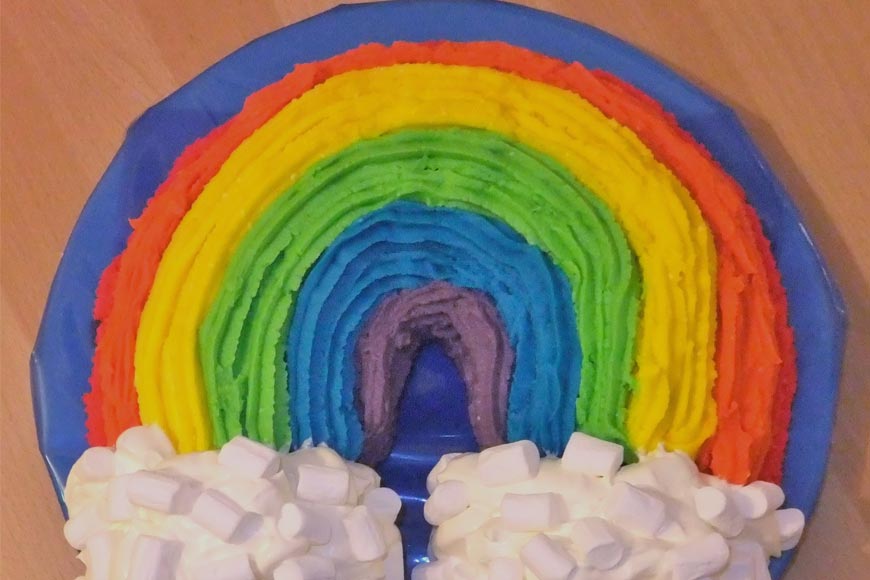
Over the Rainbow Cake

'Over the Rainbow' Cake

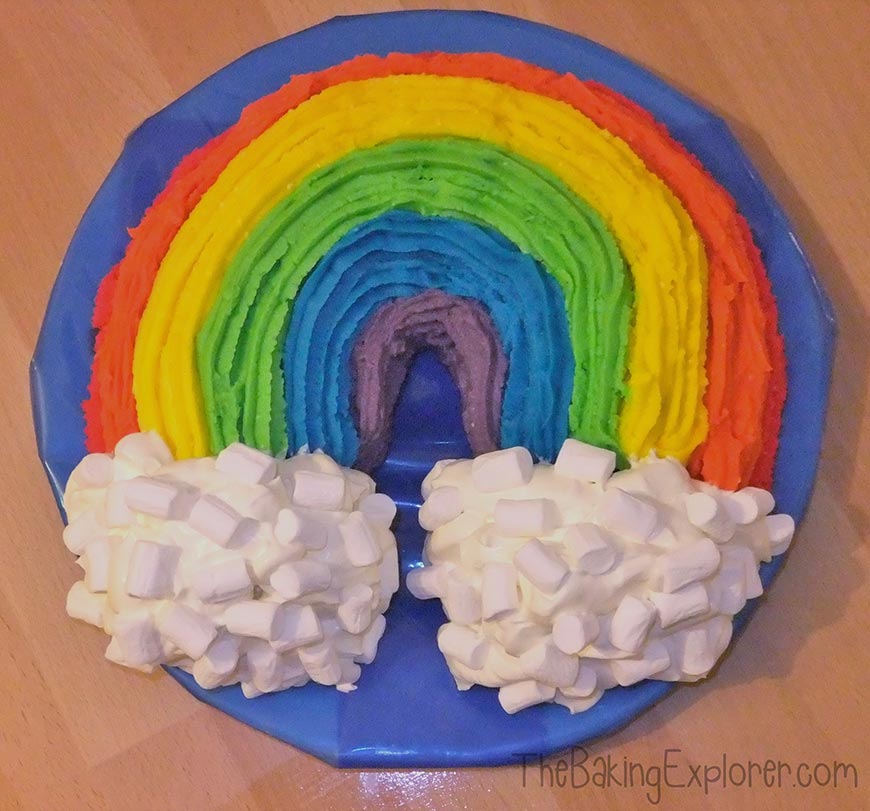
You won't need to follow a yellow brick road to get to the end of this rainbow cake. Just follow this recipe from Kat from The Baking Explorer and it will be gone so fast, you'll wonder if it was all just a dream!

For the Sponge

  • 125g butter
  • 180g caster sugar
  • 2 eggs
  • 150g soured cream
  • 1 tsp vanilla extract
  • 180g self-raising flour

For the icing and decoration:

  • 280g butter (approx)
  • 560g icing sugar (approx)
  • 6 tsp cream cheese
  • Food colouring in red, orange, yellow, green, blue and purple
  • 300ml double cream
  • Bag of mini marshmallows

Equipment required

  • 10 inch ring 'bundt' cake pan
  • Piping bags and nozzle

Method

  1. Grease the cake pan with butter and sprinkle with flour
  2. Mix the butter and caster sugar together in a bowl or electric mixer
  3. Pre-beat the eggs and add them along with the vanilla extract and mix in
  4. Add the soured cream, and fold in the self-raising flour
  5. Pour into the cake pan and bake on 175C/350F/Gas Mark 4 for 25 - 30 minutes.
  6. Once the cake is cool, remove it from the tin and chop off the bottom of the cake, about two thirds down (discard or eat the smaller piece of cake!)
  7. Make the icing by mixing together the butter, icing sugar, cream cheese and food colouring in six separate bowls. For the red and orange stripes use 60g butter and 120g icing sugar for the other colours use 40g butter and 80g icing sugar. Add 1 tsp cream cheese to each colour
  8. Using a piping bag and nozzle, pipe the colours on the sponge
  9. Whip up the cream and dollop at the end of the sponge to create 'clouds', dot the mini marshmallows over the cream
Kat Buckley

Kat Buckley

Beko's Built-in Ovens

If those mouth-watering recipes have left you inspired to do a spot of your own baking, ensure you get the best results with Beko's range of built-in ovens. Our innovative oven features are designed to make your life easier in the kitchen, taking the hassle out of cooking and cleaning.

Our unique Oleophobic Nano Coating means that your Beko oven will stay looking shiny for years, all you need to do is give the glass door a quick wipe with a soft soapy cloth after about every twentieth use.

We’ve made cleaning the inside of your oven easy too; Beko’s catalytic liners absorb cooking grease and odours, meaning no more scrubbing or having to buy intense cleaners.

And for the ultimate easy clean Beko have developed our one-touch programme cleaning. At the touch of a button the oven heats up to 500°C, turning all spillages into ash, which can be simply wiped away.

Check out below for our full range of built-in ovens and where to buy them.